Copied Images Too Large on Mac? Convert Clipboard PNGs to JPG, Then Paste or Save
You copy a screenshot, switch to a web page, and discover that the image is too large. Saving it, compressing it, and finding the output every time adds unnecessary work. PicCaddy can convert a large copied PNG to JPG and place the result back on the clipboard. Once the conversion finishes, you can paste it or save it as a file.
This is useful when you repeatedly copy screenshots or web images into chats, forms, and editors. Processing happens on your Mac, without uploading the image to a separate compression website.
Choose which copied PNGs should be converted
Open PicCaddy, click its menu bar icon, choose Open Settings…, and open Clipboard.
- Enable Auto-convert large PNGs in the clipboard.
- Set the PNG size threshold, for example
1MB. Only PNGs larger than that value are converted; smaller images remain unchanged. - If macOS asks whether PicCaddy may read the clipboard, allow access to the image.
Copy an image again after enabling the feature. The clipboard must contain image data, such as an image copied by a screenshot tool or a browser's Copy Image command. Copying a .png file in Finder does not trigger this conversion.
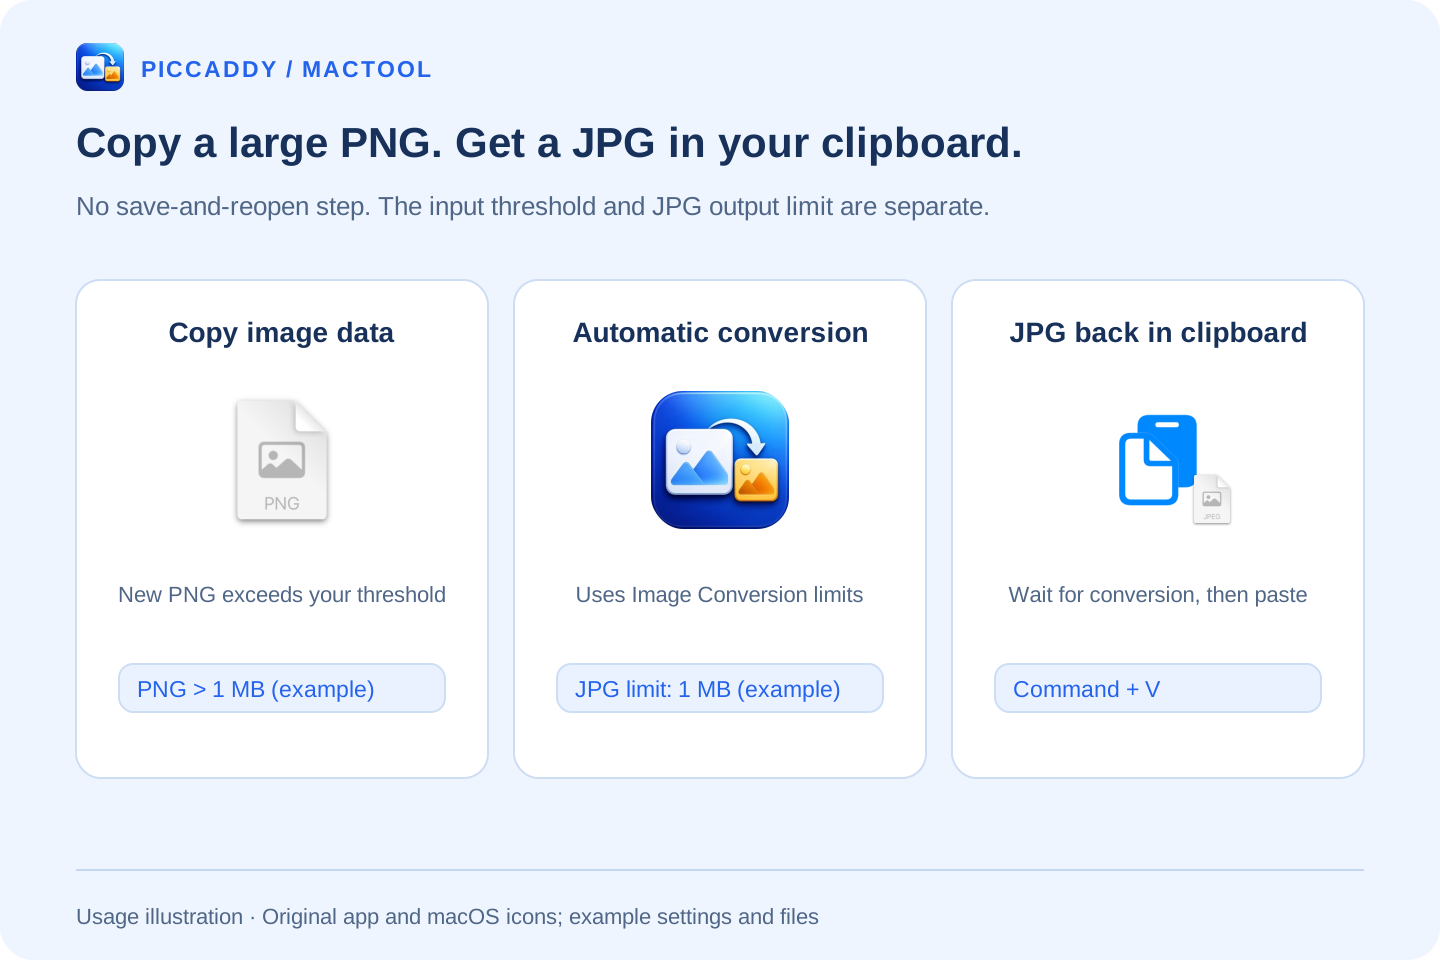
Set the maximum size of the resulting JPG
“Convert PNGs larger than 1 MB” and “produce a JPG no larger than 1 MB” serve different purposes. The first determines whether a copied PNG is processed. The second controls the output limit.
Open Image Conversion, enable Limit converted file size, and set Maximum size of each converted JPG to the MB value you need. You can also enable Limit converted image dimensions and set the longest edge when the full image dimensions are unnecessary.
PicCaddy adjusts JPG quality first and reduces dimensions proportionally if the output still exceeds the size limit. Choose settings that suit how you will use the image. Keep the original PNG when small text needs maximum clarity or the asset requires transparency: JPG has no transparency, so transparent areas become white during conversion.
Paste after the conversion finishes
After copying a large PNG, check the menu bar status. Recent conversion with the before-and-after sizes means the JPG has been placed on the clipboard. If Show a notification after conversion is enabled, a notification also tells you the operation has finished.
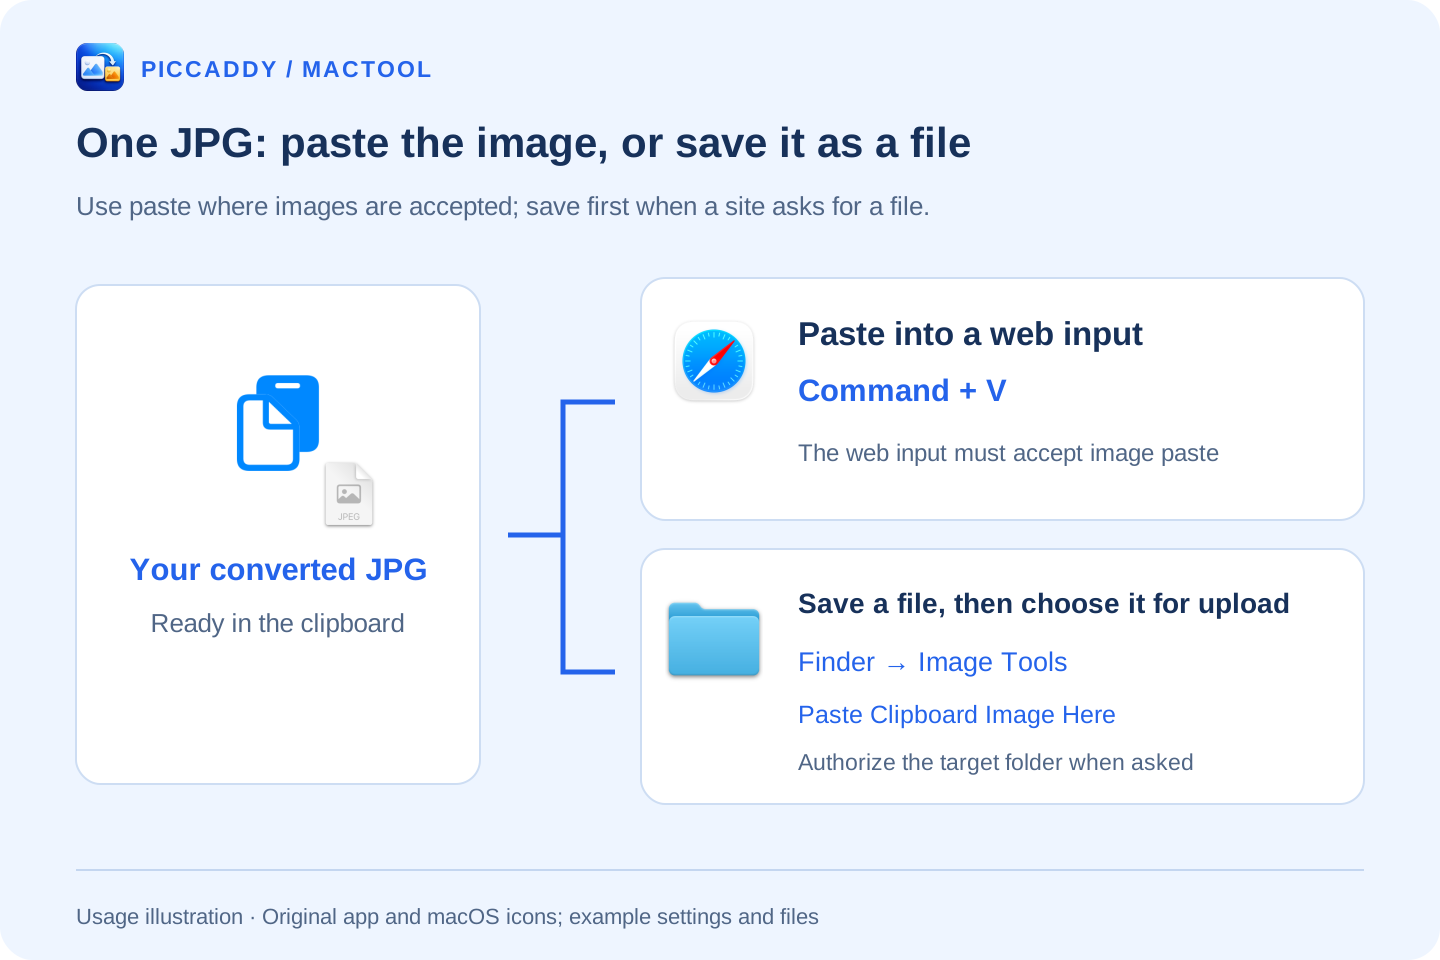
Switch to a chat input or web editing area that accepts pasted images and press Command + V. You paste the converted image. PicCaddy prepares it; you still choose when to send or submit it. A website that only provides an Upload File button requires an image file instead.
Save a file from Finder when needed
Open the destination folder in Finder, right-click an empty area, and choose Image Tools → Paste Clipboard Image Here. A file appears in that folder with a name starting with PicCaddy-Image; an existing name receives a number. If the clipboard contains the converted JPG, the saved file is a JPG.
Before using the Finder command for the first time, click Enable extension in System Settings in PicCaddy's main window and enable PicCaddy Finder Extension. If the destination has not been authorized, select that same folder when prompted and click Authorize Folder. PicCaddy remembers the folder for later saves.
If your PNGs arrive in a regular folder, see automatically convert new PNGs in a folder. The complete guide covers other image tools. PicCaddy supports macOS 13 or later; find the download on its product page.
Frequently asked questions
Does copying a PNG file in Finder trigger automatic conversion?
No. This feature handles a single PNG image on the clipboard. Copying a file in Finder supplies a file reference, which is not converted.
Can I paste the converted image into a web page?
Press Command + V in an area that accepts pasted images. If the site only offers a file-upload button, save the clipboard image from Finder first, then select that file yourself.
Where do I set the output JPG size?
In Image Conversion, enable Limit converted file size and set Maximum size of each converted JPG. The Clipboard threshold determines which PNGs are converted; it is a separate setting.