PNG to JPG in Finder
PicCaddy adds PNG-to-JPG conversion to Finder's right-click menu. Convert one image or a batch, save new JPGs beside the originals, and keep your PNGs without overwriting existing files.
You have a few PNGs in Downloads that need to be JPGs for an upload, or a folder of finished images to convert together. PicCaddy lets you start from Finder instead of opening and exporting each image separately.
The steps are the same for one image and a batch. Conversion creates new .jpg files and leaves the PNGs in place, so you can check the results before deciding what to keep.
Enable the Finder extension once
Open PicCaddy. If its main window says Finder extension not enabled, click Enable extension in System Settings. Enable PicCaddy's Finder extension in the system management screen that opens, then return to Finder.
Once enabled, the conversion command appears in the image context menu. Future conversions can start directly from the folder containing your PNGs.
Select PNGs and choose Convert to JPG
- Open the folder containing your PNGs.
- Select one PNG. For several images, Command-click individual files or drag a selection around a group of PNGs.
- Right-click and choose Convert to JPG, marked with the PicCaddy icon.
- If a folder authorization window appears, select the requested folder containing the original images and click Authorize Folder.
The first time you use a folder that has not been authorized, PicCaddy needs permission to read its images and save the results. Select the original PNGs' folder. PicCaddy remembers that authorization; canceling does not process any images from this request.
Find each new JPG beside its original
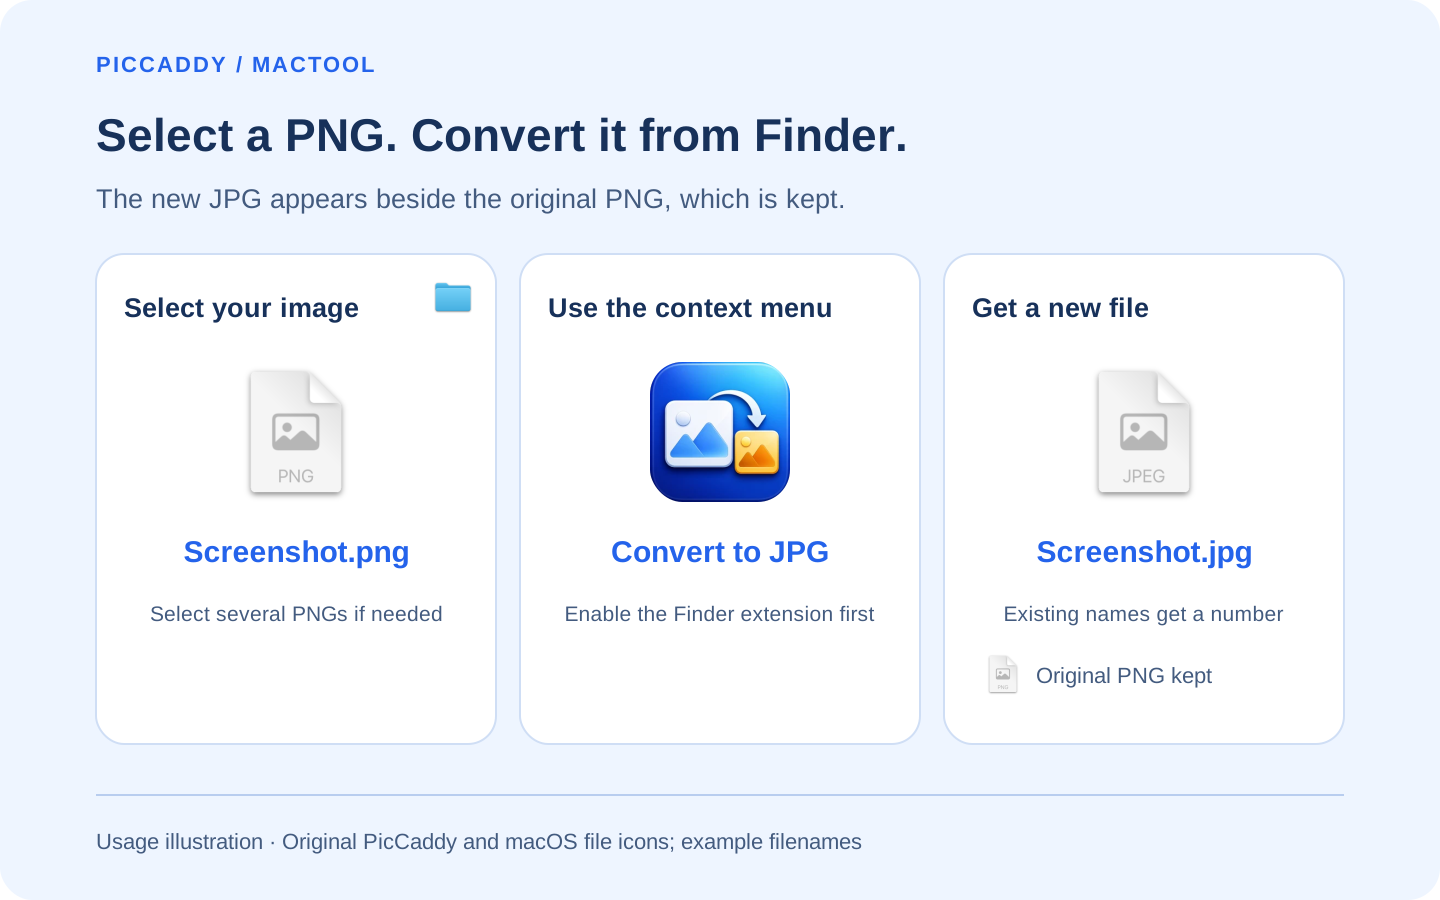
Return to the same folder to find the outputs. For example, cover.png produces cover.jpg. If cover.jpg already exists, the new result becomes cover-1.jpg; if that name is taken too, PicCaddy continues numbering.
Repeated conversion therefore leaves earlier JPGs intact. A batch also creates separate outputs for each PNG, rather than combining them into a single file.
Choose the new JPG when uploading. You can keep the PNG as an editing source. If your aim is to free disk space, check that the JPG meets your needs before removing any originals you no longer need. Converting while keeping both versions adds files rather than reducing total storage.
Set dimensions and file size independently
Choose Open Settings… in PicCaddy, then open Image Conversion. Its two limits apply to the JPGs produced by subsequent conversions, and each has a separate switch.
| Setting | What it changes |
|---|---|
| Limit converted image dimensions | Uses Longest edge after conversion to reduce images proportionally when they exceed that dimension, without stretching |
| Limit converted file size | Uses Maximum size of each converted JPG to set a per-file limit; the app lowers quality first, then reduces pixel dimensions if necessary |
For an upload with a per-image size requirement, set the file limit to suit that requirement. Smaller limits can remove more detail. Avoid shrinking an image more than its intended use requires.
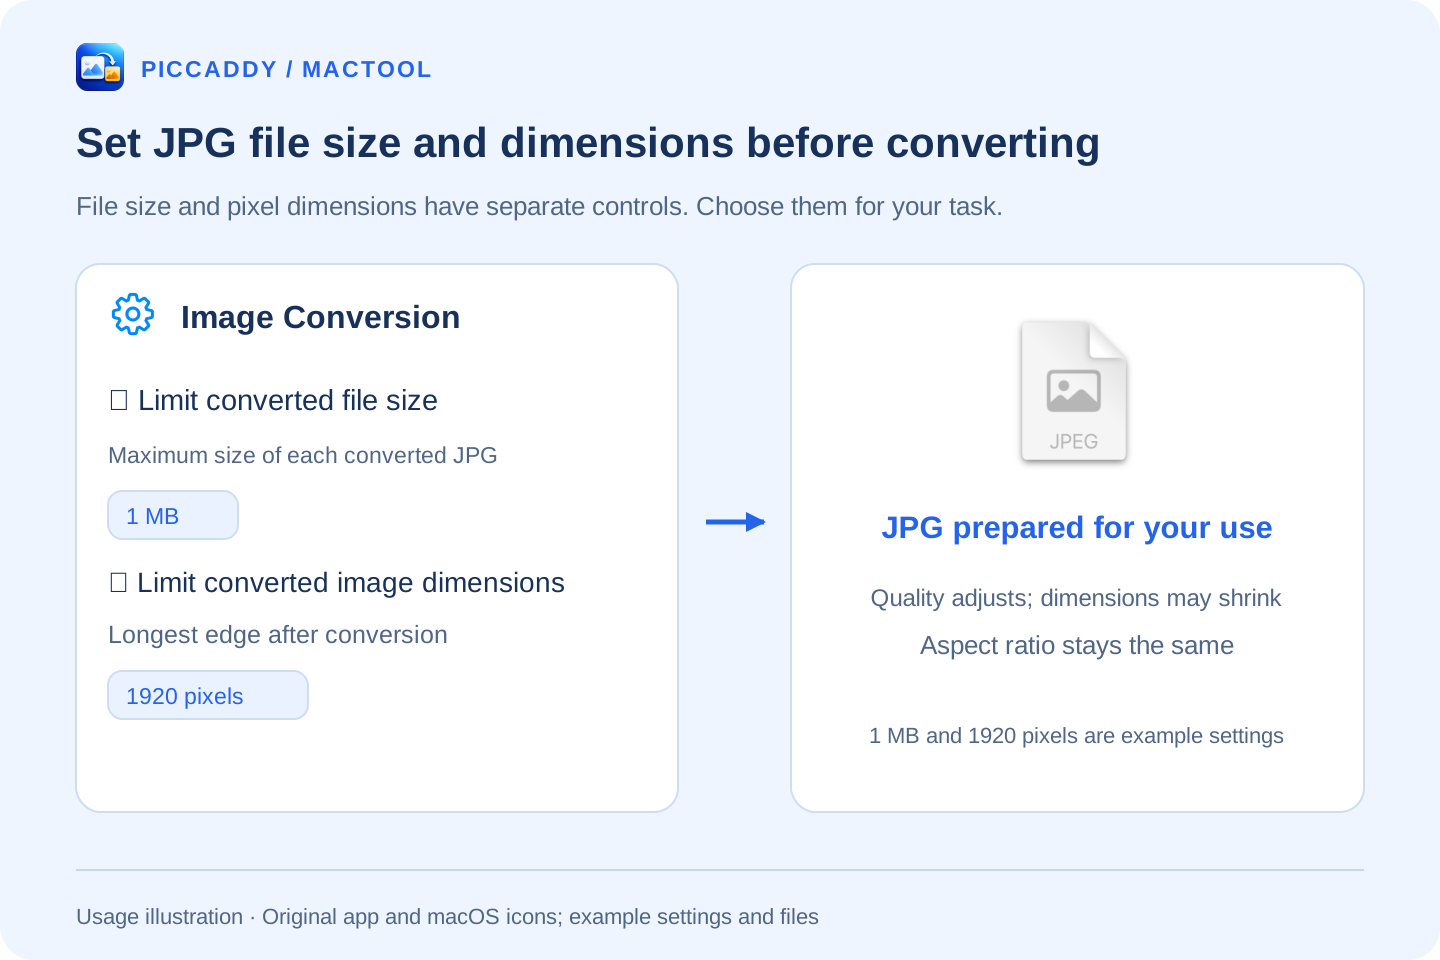
If you want a format conversion without setting a reduction target, turn both limits off. The resulting JPG still uses lossy compression, so it is not a lossless backup of the PNG.
Choose which images to convert
Photos, finished website illustrations, and everyday sharing images are useful candidates. Create a JPG and check whether its appearance and file size suit the task. Results depend on the image and settings; a JPG is not guaranteed to be smaller than every PNG.
Keep PNGs for transparent icons, cutout assets, images with fine text, and source images that still need detailed editing. PNG can preserve transparency; PicCaddy places transparent areas on a white background when producing a JPG.
If the command is missing
First check that PicCaddy's main window reports Finder extension enabled. Then check the selection: this direct command requires every selected file to be a PNG. Including a JPG, another format, or a folder hides it.
Select only PNGs and open the menu again. For the app's other image tools, see the complete PicCaddy guide. If you mainly work with large PNGs from an AI image website, continue with saving and uploading AI images as JPGs.
Frequently asked questions
Can I convert several PNGs at once?
Yes. Select multiple PNGs in Finder, right-click, and choose Convert to JPG. Each image gets its own JPG beside its original file.
Will conversion overwrite a JPG or delete my PNG?
No. Manual Finder conversion keeps the original PNG. If a JPG with the same name already exists, the new file receives a suffix such as -1 or -2.
Why is Convert to JPG missing from the menu?
Open PicCaddy to check that its Finder extension is enabled, then select only PNG files. This direct conversion item does not appear when the selection includes JPGs, other formats, or folders.
Is PNG-to-JPG conversion lossless?
No. PicCaddy produces a lossy JPG, and transparent areas become white. A file-size limit may also lower quality or reduce pixel dimensions. Keep PNGs for transparency or a full-quality editing source.