AI Images to JPG
Turn suitable photo-style AI PNGs into JPGs on your Mac for everyday saving, website use, and uploads. PicCaddy converts batches and applies size limits; review the results before organizing originals to free disk space.
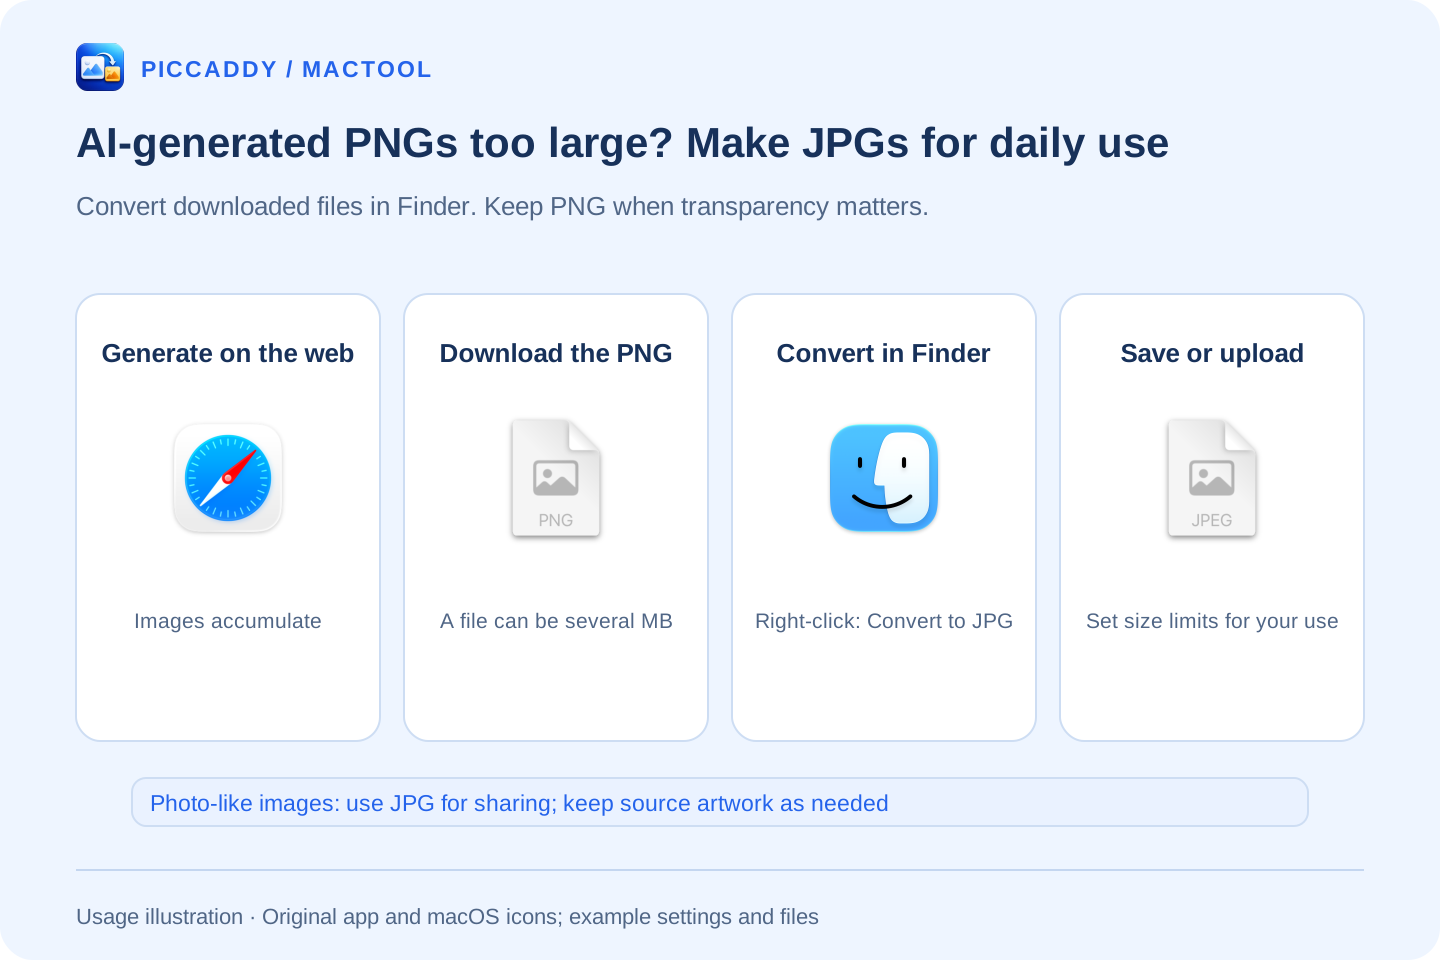
You generate several sets of images on a website, download them to your Mac, and discover that each PNG takes up a few megabytes. Candidates, variations, and finished versions accumulate in Downloads. Sending them to someone or uploading them to a website can also run into attachment limits.
For finished images mainly used for viewing, sharing, or website illustrations, PicCaddy can make JPG copies of suitable PNGs. Processing runs locally on your Mac, supports batches, and lets you control output size. The original PNGs remain available while you check the results.
Start with images that suit JPG
AI-generated photos, interior scenes, and product lifestyle images are useful candidates when they are ready to use and do not need a transparent background. How much smaller a JPG becomes depends on the image, pixel dimensions, and settings. There is no fixed reduction ratio for every image.
JPG is useful as an everyday copy of a finished photo-style image. Check its appearance and file size, then use that copy for saving, sharing, or uploading.
Keep PNGs for transparent characters, icons, and cutout assets; images where fine text or lines matter; and sources that still need editing. PicCaddy places transparent areas on a white background when converting to JPG.
Batch-convert downloaded PNGs in Finder
- Put the PNGs somewhere easy to find and select the finished images you want to use.
- Open PicCaddy. If its Finder extension is disabled, click Enable extension in System Settings, enable it, and return to Finder.
- Select one or more PNGs, right-click, and choose Convert to JPG. Every selected item must be a PNG for this direct menu command to appear.
- If an authorization window appears, select the requested folder containing the original images and click Authorize Folder.
Each JPG appears beside its PNG. For example, room.png produces room.jpg. An existing JPG is left untouched; the new file receives a name such as room-1.jpg instead.
For the complete first-time setup, see converting PNG to JPG in Finder.
Match size limits to the upload
Choose Open Settings… in PicCaddy and open Image Conversion. If the destination has a per-image attachment limit, enable Limit converted file size and enter a suitable value under Maximum size of each converted JPG before converting.
For a website image that does not need its original dimensions, you can also enable Limit converted image dimensions and set Longest edge after conversion. Larger images are reduced proportionally, without stretching.
The switches work independently. A file-size limit lowers JPG quality first and, if needed, reduces pixel dimensions even when the dimension limit is off. Choose a limit for the actual use rather than shrinking images you will later need at a larger size.
Open the resulting JPG to check the subject, detail, and any text. Use Get Info in Finder to check its file size, then select the JPG in the upload page. You do not need to upload the whole batch of large PNGs to another online converter first.
Is it clipboard image data or a downloaded file?
Copying an image from a web page and downloading it can produce different things. Do not assume that every AI website places PNG image data on the clipboard. Choose the method that matches what you have:
| What you have | How to process it |
|---|---|
| PNG files downloaded into a folder | Convert manually in Finder; for ongoing downloads, set up folder monitoring |
| Actual PNG image data on the clipboard | Enable clipboard monitoring to convert image data above the configured threshold |
| A PNG file copied in Finder | File copying does not trigger clipboard image conversion; right-click the original file to convert it |
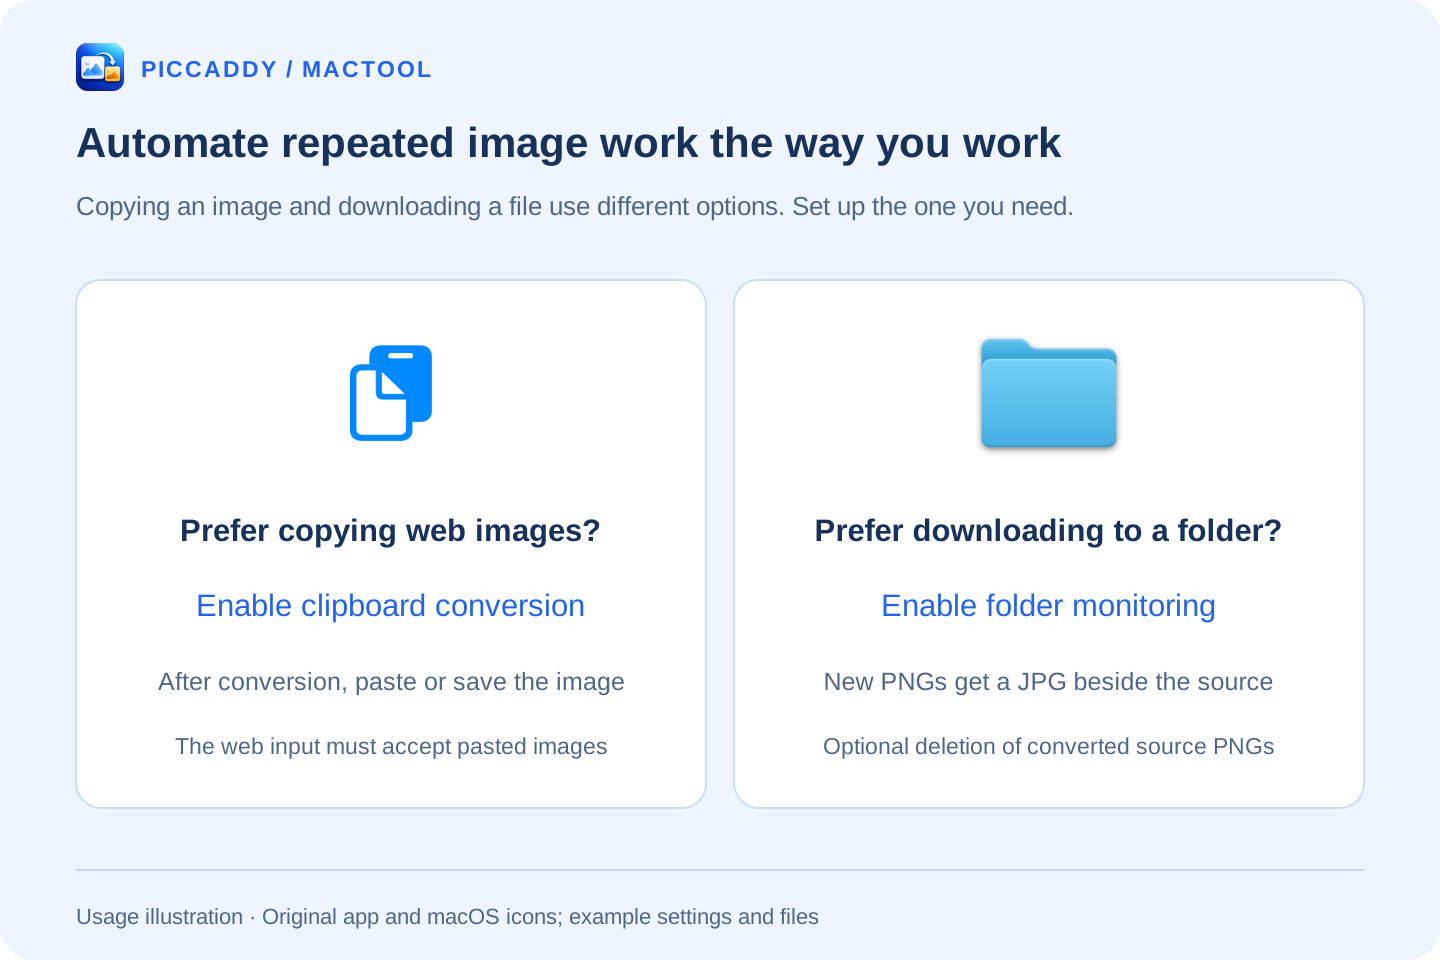
If you often copy images from websites, read automatically compressing clipboard images on Mac. If downloads usually go into the same directory, see automatically converting new PNGs in a folder. Folder monitoring handles qualifying PNGs added after monitoring begins; use manual batch conversion for an existing collection.
Freeing disk space requires organizing originals
Manual Finder conversion leaves both the PNG and the new JPG, so total disk usage can increase at first. After checking that a JPG meets your needs, keep PNGs you still need as editing sources and remove only originals you no longer need. That is when the amount of stored data can decrease.
Moving files to Trash still leaves them on disk. Emptying Trash after confirming they are no longer needed releases their space. To review candidates first, use PicCaddy's folder image browser, then follow finding and deleting images by size, name, and date.
You are left with JPGs suited to their everyday use and PNG sources worth keeping. For the next upload, choose the JPG rather than sending the largest version each time.
Frequently asked questions
Should every AI-generated image become a JPG?
No. JPG can be useful for photo-style images and finished everyday illustrations. Keep PNGs for transparent assets, fine text, and source images you still need to edit. Appearance and size depend on the image and settings.
Does converting immediately free disk space on my Mac?
No. Manual Finder conversion creates JPGs and keeps the PNGs. Total storage can decrease only after you organize originals you no longer need. Files moved to Trash still use space until Trash is emptied.
How do I meet an image upload size limit?
In PicCaddy's Image Conversion settings, enable Limit converted file size and set the maximum size for each JPG to suit the upload. The app lowers quality first and may also reduce pixel dimensions. Check the output's size and appearance before uploading.
Is copying a web image the same as copying a PNG file in Finder?
No. Automatic clipboard conversion handles qualifying PNG image data. Copying a file in Finder does not trigger it. For downloaded PNG files, use Finder conversion or folder monitoring for new files added later.